Understanding the Need for Radon Mitigation
I have spent years working with homeowners who discover their property has elevated radon levels. That first test result, often a surprise, triggers a flurry of questions. What does fixing this actually involve? How disruptive is it? Will it work? After many jobs in York County and the surrounding area, I can tell you that a well-designed radon mitigation installation is not as mysterious or invasive as people fear. The key is understanding the process and knowing what to expect from start to finish.
Radon is a radioactive gas that seeps into homes from the soil beneath the foundation. It moves through cracks, gaps, and porous concrete. The goal of any mitigation system is to stop that gas from entering the living space. The most common and effective method, especially for houses built on a concrete slab or with a basement, is sub-slab depressurization, also known as active soil depressurization. This approach uses a fan unit to create a low-pressure zone under the foundation, pulling radon-laden air from the soil and venting it safely above the roofline. The entire radon mitigation installation revolves around this simple principle: create a path of least resistance for the gas to escape harmlessly.
Key Components of a Typical System
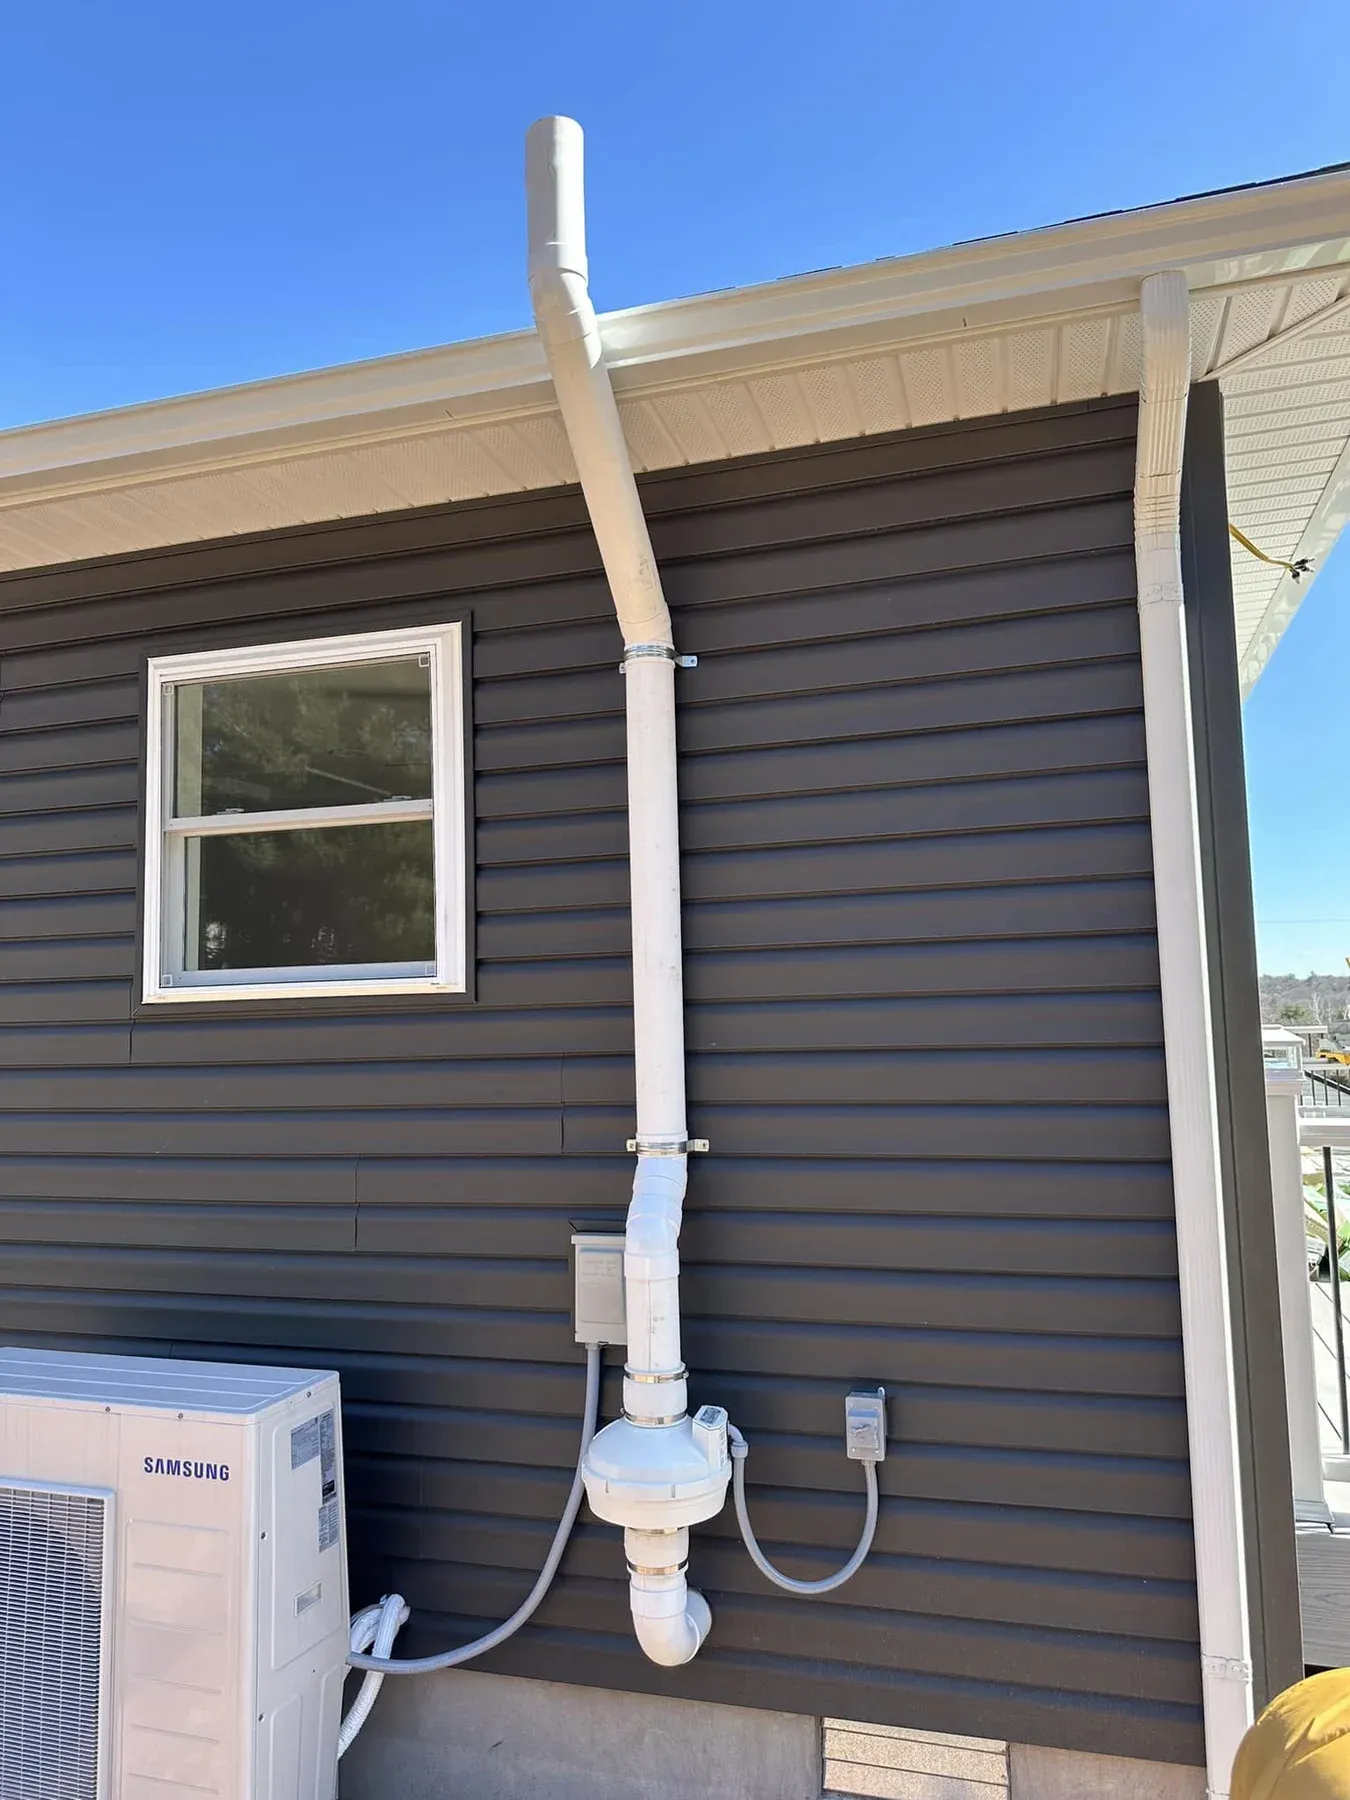
Every installation is a little different, but the core parts are consistent. A PVC pipe runs from beneath the slab or crawlspace up through the home and out the roof. A fan unit is installed along that pipe, usually in an attic or outside, to keep the system under continuous suction. A manometer, which is a simple gauge, shows the system is working by indicating the pressure difference. Sealing is also critical. Cracks in the concrete slab, gaps around pipes, and joints in the floor are sealed to ensure the suction works efficiently rather than pulling air from inside the house.
One detail that surprises many homeowners is the sum pump. If your house has a sump pit or a sump pump area in the basement, that spot often becomes the ideal suction point. The PVC pipe connects directly to the sump pit, which is covered with a gasket-sealed lid. This setup can be very effective because the sump already provides a natural opening into the sub-slab space. The gasket ensures that the system does not pull air from the basement itself, only from the soil below.
What Happens During an Installation
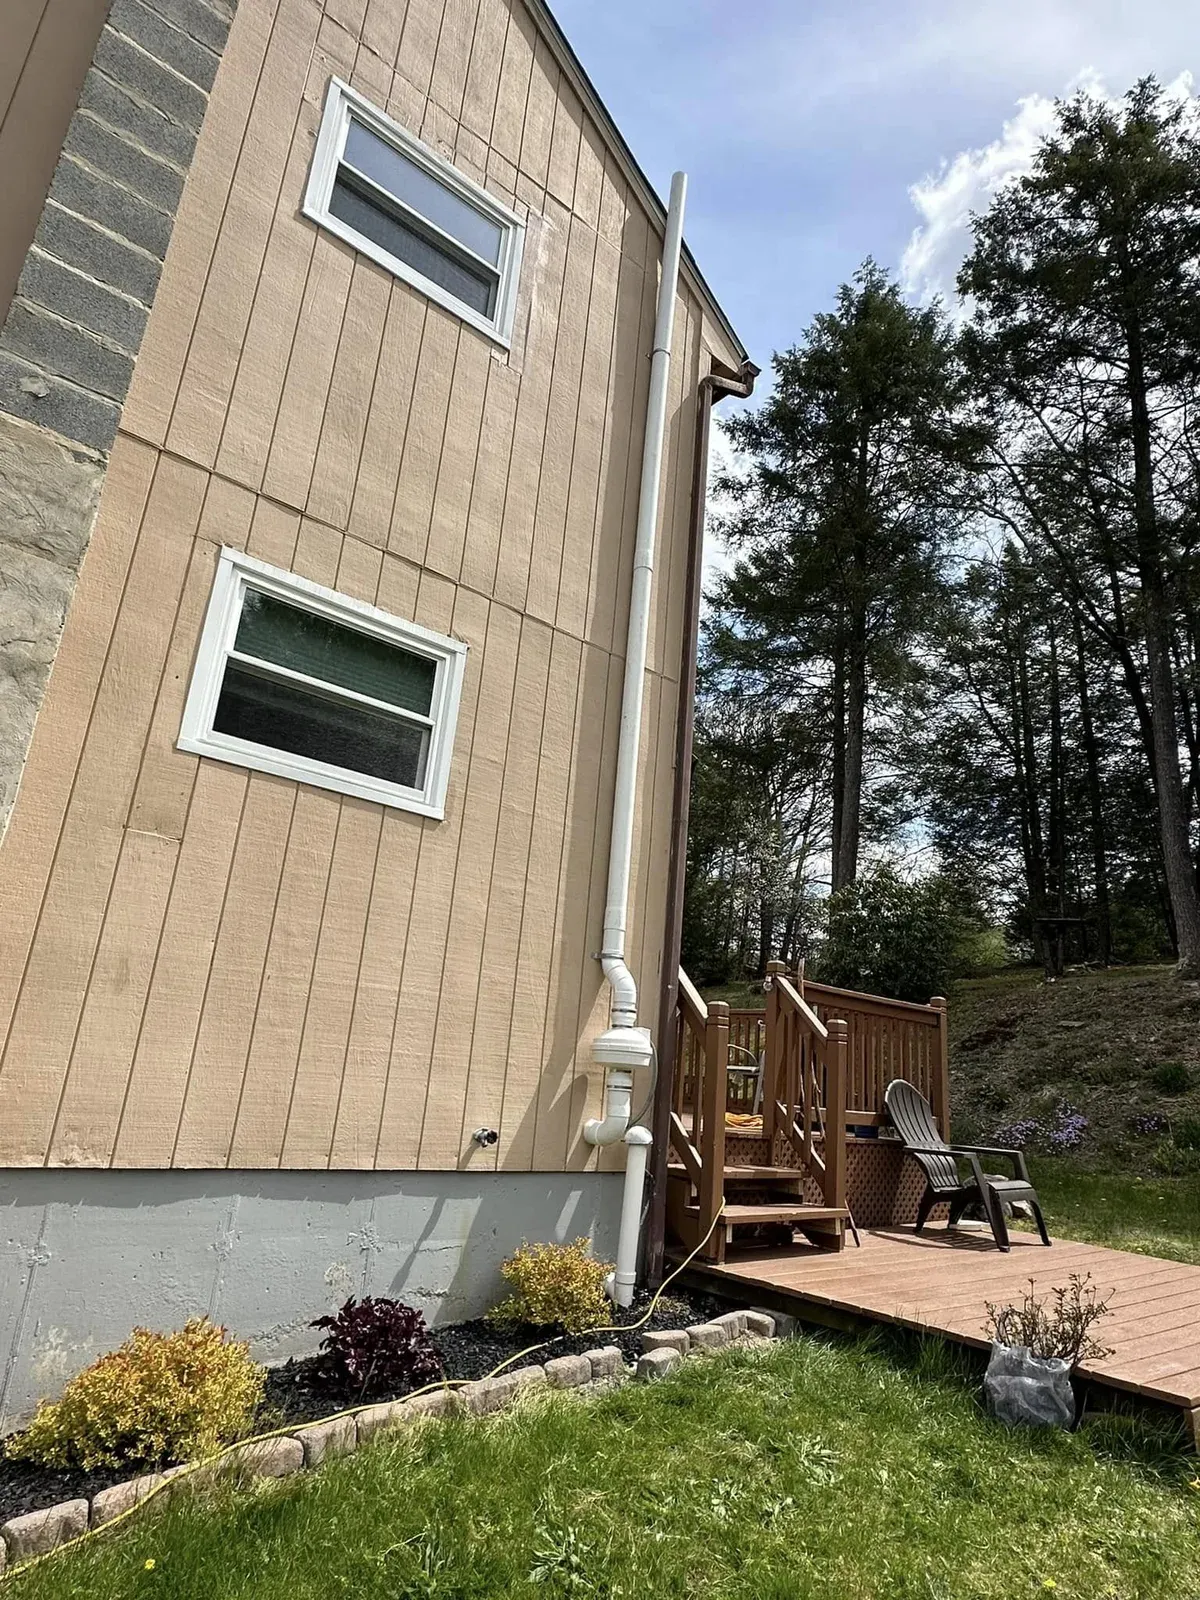
When I arrive for a radon mitigation installation, the first step is always a careful inspection of the house. I look at the foundation type, the layout of the basement or crawlspace, and the location of existing utilities. The installation itself usually takes a full day. For a house with a concrete slab, I drill a small hole through the floor, typically in a utility room or closet. Through that penetration, I insert a PVC pipe and seal the opening with a high-quality gasket and caulk. Outside, a trench may be dug to run the pipe to the fan unit, which is mounted on an exterior wall or in the attic. The pipe then extends up the side of the house or through the roof, always terminating at least a foot above the roofline to ensure the gas disperses safely.
I always emphasize the importance of sealing during the process. Even the best fan and pipe setup cannot overcome a leaky foundation. I go around the entire basement and seal every crack I can find, plus any gaps around pipes or wires that enter through the slab. This sealing step is not glamorous, but it is what makes the system work properly. The difference in air pressure created by the fan unit will only pull from the soil if the slab is relatively airtight. Otherwise, it just recirculates basement air.
Testing After Installation
No radon mitigation installation is complete without a post-mitigation test. This is not optional. The EPA recommends testing after any system is installed to confirm the levels have dropped to below 4 picocuries per liter, which is the EPA action level. In many cases, a good system brings levels well below 2 pCi/L. The most common test is a short-term radon test, which lasts between two and seven days. You can use a charcoal canister, which is a simple passive device that you send to a lab, or a continuous radon monitor, which gives you real-time readings and is often used by professionals like me.
I prefer using a continuous radon monitor for post-mitigation testing because it gives immediate feedback. It also records hourly variations, which helps me confirm the system is stable. If the test shows levels are still high, I go back and check for additional entry points or adjust the system. This is where experience matters. Every house behaves differently, and a good installer knows how to diagnose and fix the issue without starting from scratch.
Maintenance and Warranty
A radon mitigation system is not a set-it-and-forget-it appliance. The fan unit has a lifespan of roughly five to ten years, depending on the model and the environment. I tell homeowners to check the manometer every few months. If the gauge shows no pressure difference, the fan may have failed or the pipe might be blocked. A quick visual check can save a lot of trouble later. Many installers, including Dan Jenkins here in York County, offer a radon system warranty that covers parts and labor for a set period. That warranty gives you peace of mind, but regular checks are still wise.
Common Questions and Misconceptions
One of the most common questions I hear is whether the system will make the house colder or increase energy bills. A properly installed active soil depressurization system actually has minimal impact on your heating and cooling costs. The pipe is sealed tightly, and the fan only moves a small amount of air. The benefits of reducing your cancer risk far outweigh any tiny energy loss. Another misconception is that sealing alone solves the problem. Sealing is essential, but it is not a substitute for a complete system. Radon can push through tiny openings that are impossible to seal completely. The fan unit is what creates the negative pressure that keeps the gas out.
I also get asked about crawlspaces. Houses with crawlspaces instead of full basements can still use sub-slab depressurization, but the installation is a bit more involved. The PVC pipe runs through the crawlspace instead of a basement, and the fan unit is usually mounted on the exterior wall. The same principles apply: suction, sealing, and venting above the roofline. The key difference is that the installation crew has to work in tight spaces, which takes a little longer but is still very effective.
Why Local Expertise Matters in York County
York County has its own geological quirks. The soil and rock formations vary from one neighborhood to the next, which means the same radon mitigation installation approach does not work everywhere. A system that works perfectly in a house built on clay soil might need adjustments for a house on limestone. That is why having a local installer who knows the area makes a difference. Dan Jenkins, for example, has done countless installations across the county and understands which methods work best for different foundations and soil types. Local knowledge also helps with code compliance and proper vent placement, which can vary by municipality.
The Bottom Line
A radon mitigation installation is a straightforward but precise home improvement project. It requires careful planning, quality materials, and a commitment to thorough sealing and testing. If you are considering hiring someone, look for a contractor who uses a manometer to verify system performance, who does a post-mitigation test, and who offers a clear radon system warranty. Do not settle for a quick fix. The goal is not just to pass a test, but to create a system that protects your family for years to come. With the right installation and a little bit of maintenance, you can reduce your radon levels dramatically and breathe easier at home.